Showing posts with label kindergarten. Show all posts

Tuesday, February 15

Kid's Craft - Field of Sheep

My kids are still a bit too young to do many projects on their own, which means when they want to do a craft *I* am actually doing all the work while they smear glue on the table and complain about how long I'm taking.

So the crafts for kids I share here on my blog aren't going to be stunning, gallery worthy showpieces. They're going to be the kind that little kids (preschool - primary) can do with minimal assistance.

The boys loved this one (anything with animals, of course).


A field of sheep...baaa


You will need:


Various shades of green paper, torn roughly into sqaures.
 (Depending on your child's abilities, they can do it or you can do it. For this project, I ripped and cut everything out and just set it all out for them to use.)
You will also need another sheet of green paper as your base.

 
Sheep bodies (ovals), heads, and legs - cut from black or white paper. I folded the paper into thirds and free-handed the cutting, so it cut several shapes at one time. The ovals are about 3-4" at widest point. I cut way too many legs as you can see, but they were so easy I couldn't stop...


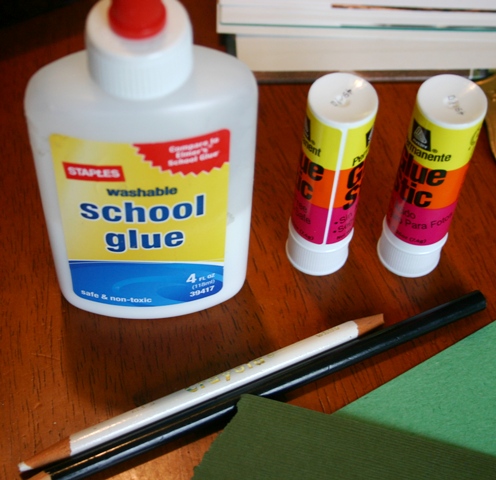
Finally, you need glue - we used glue-sticks flor gluing the paper portions and the white glue for gluing on the cotton. You also need pencils or something else to draw on the sheeps faces.

Directions:

Have your child glue the green sqaures onto the base paper to create your 'fields'.

Glue on the sheep bodies, heads, and legs. Draw some cute faces.


Gently pull apart a cotton ball to create wool. If you happen to have real wool, that would work great too!


Glue the now fluffy cotton onto the sheep's body.

You can demonstrate how to asssemble one sheep and then just leave them to it...

 And you have yourself a field of sheep!

Here's the neighboring farm.

Have a woolly-good time!


Tuesday, February 1

Make Your Own Play Dough and a Porcupine Too


I've tried a few dough recipes, but they always seem a little too gritty. This one is smooth and soft - fairly close to the store-bought version - and stays amazingly soft and pliable even after being left out for hours (or overnight in our case).

Here's what you need:

1 cup flour
1 tablespoon vegetable oil
1 cup water
1/2 cup salt
2 teaspoons cream of tartar
optional:
food coloring
glitter
scent - (you can use an extract like lemon or vanilla)

Combine all your ingredients in a large saucepan. Stir with a wooden spoon over medium heat. Stir constantly. It will be very soupy for several minutes and then suddenly it will start sticking together and can be stirred into a ball. It will look very lumpy too - don't worry. Remove from the heat and keep stirring briefly. Turn the whole lump out on a floured surface and knead as it cools. Just for a few minutes - you'll see when it's the perfect consistency.

It will store nicely in Ziploc bags or of course, old play-doh containers (we've only got about 30 or so laying around). If you're not going to use it for a while, storing it in the fridge or freezer will make it last for a long time.

Here's an easy project for the little one's to make with their new dough.

You will need:
play dough
2 small beads or button (for eyes)
round toothpicks


1. Roll a handful of play dough into a ball.
2. Pinch one end to form a nose.


3. Press your beads into the clay to make eyes.
4. Cover with toothpick "needles".

 Here is my 3-year-old's version, (completely unassisted). I love that this is so easy, and yet adding the toothpicks takes a bit of time, so you'll have some peaceful moments as your kids are thoughtfully placing each one.

Here's another my 5-year-old. Don't you love the big eyes and goofy smile?

Have fun!